How do you keep your longboard properly maintained?
This article will cover maintenance for the deck, griptape, bearings, wheels, and trucks.
Preventative Maintenance
The best type of maintenance is preventative maintenance.
Avoid riding in wet conditions, clean your bearings, and watch your board closely. Always check your truck/wheel nuts before riding to ensure they’re secure. You don’t want anything coming apart!
If you ride in wet conditions, you might consider having a “wet setup.” All that means is to have dedicated wheels, bearings, and trucks that you can put on solely for wet conditions.
That way, your main setup doesn’t get ruined. If you can’t afford to do this, thoroughly dry it off once you’re done.

Deck Maintenance
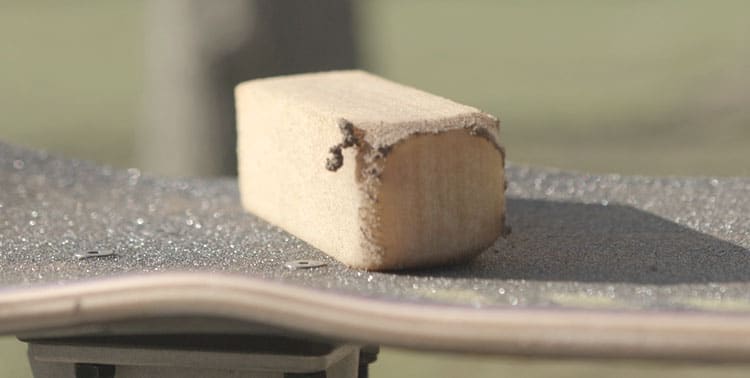
The most common deck issue is minor chips/cracks on the nose or tail.
If it’s a hairline crack or a minor chip, don’t worry. Longboards and skateboards are meant to get beat up. It’s your call, but I’d suggest just keeping an eye on it.
Address it when you get a significant crack or chip.
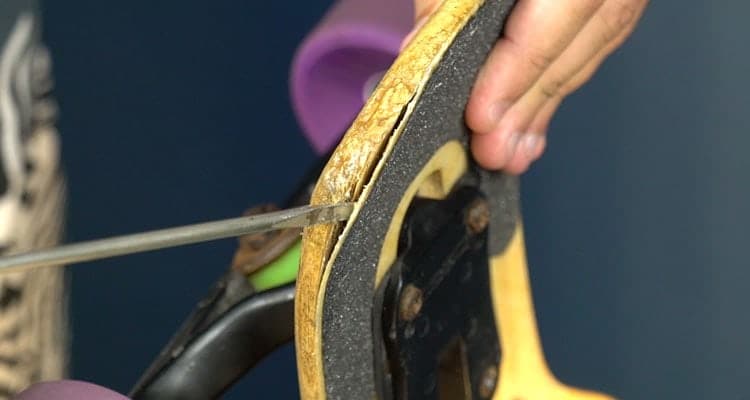
It will all depend on your situation, but if it’s a delamination crack, use either wood glue or epoxy. If you have a big chip, you can use wood filler.
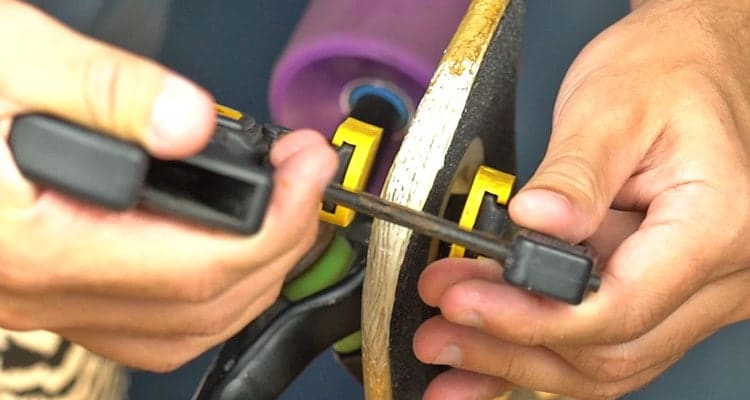
If it’s a crack that’s hard to reach, get glue syringes. It’ll make your life a lot easier.
Flip your board vertically so gravity will pull the glue deeper into the cracks, lay down some protection so it doesn’t make a mess, apply it, then clamp it.
Wait however long it instructs, and then sand it if needed.
You can even go a little further and apply a polyurethane coating to waterproof it. While this isn’t a 100% guarantee to keep water out, it’ll help.
Griptape Maintenance
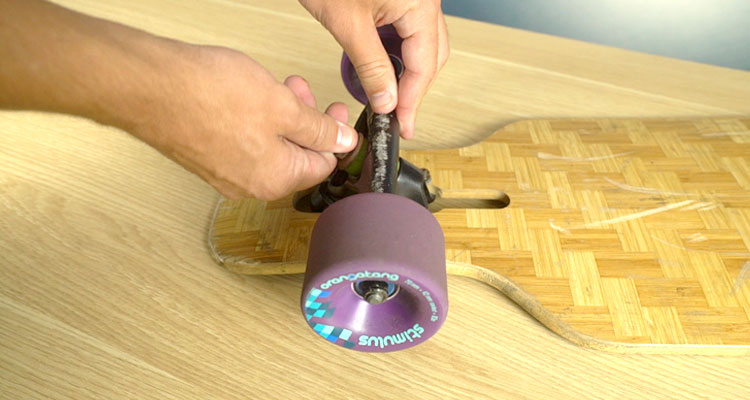
The most common grip tape issue is dirt.
You can gently use a wire brush for more intense dirt and then a sanding belt cleaner for stuff on the surface of the grip. This belt cleaner will solve 99% of dirty grip tape issues.
Keep in mind that griptape will wear down over time. Don’t go over the top and use a crazy amount of pressure; otherwise, it’ll wear down quicker.
Bearings Maintenance
The key to having your bearings perform properly is lube.
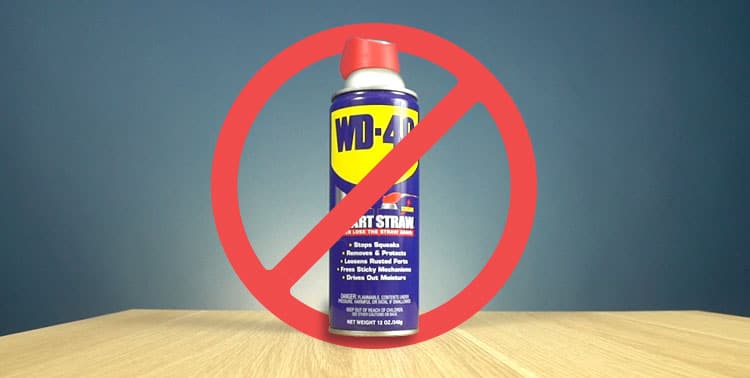
Don’t use WD-40 because it’ll dry them out and attract more dirt. WD-40 might temporarily seem like it’s working, but it’ll ruin them over time.
Instead, removing the plastic caps and using a cleaner bottle like the ones from Bones is best. Line up your bearings, spaced out, and add in some natural citrus cleaner.
I got this specific cleaner from Amazon, but you can get a cheaper one from your local hardware store.
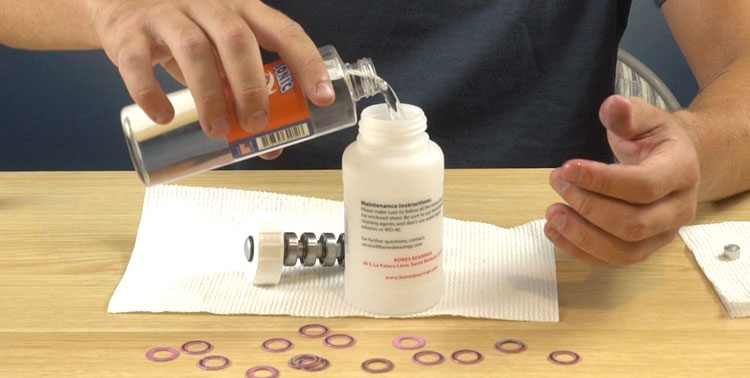
Fill your bottle about a quarter of the way and shake it up.
You can rinse and repeat a few times, depending on how dirty your bearings are.
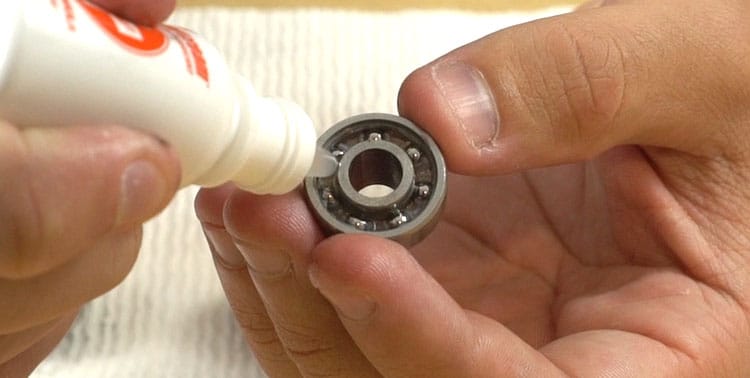
Take them out, and let them dry on a paper towel. Before you add the lube it’s important to make sure they completely dry off. I usually just wait but to speed up the process you can use an air spray can or blow dryer.
Once they’re dry, use a lubricant like Bones Speed cream.
Wheels Maintenance
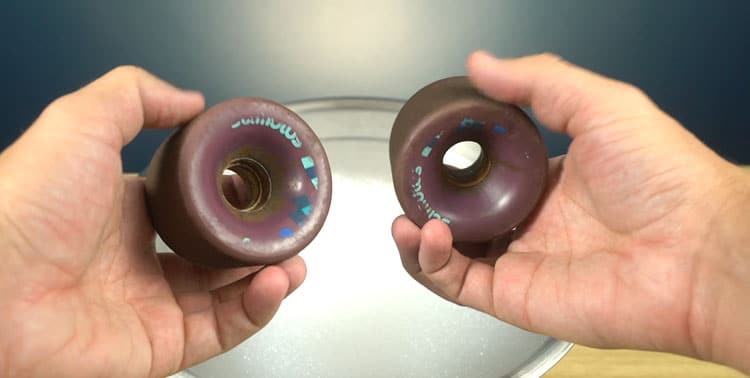
Two main issues are uneven wear from sliding and them getting dirty.
It doesn’t take a rocket scientist to know that if you slide a lot, some of your wheels are going to wear down quicker than others. This is why it’s common practice to rotate your wheels so they all have a better chance of wearing them evenly. Make sure your wheels have centerset cores, otherwise, it doesn’t make sense to flip them.
If your wheels are dirty, put some warm water and dish soap in a bucket. Let your wheels soak for 10 minutes, then take a brush and scrub.
Trucks Maintenance
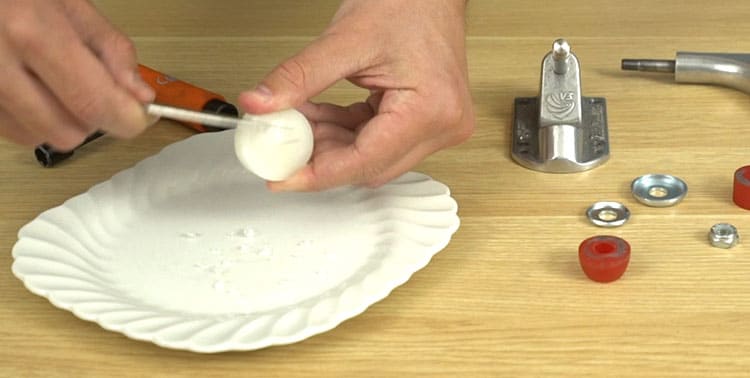
The most common issue is your truck squeaking. It’s either the pivot cup or bushings.
Take soap or candle wax shavings, and sprinkle them in the pivot cup and between the bushings. That should do it.